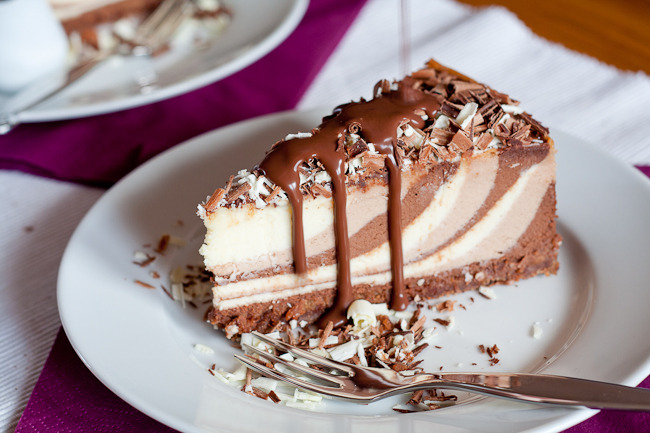
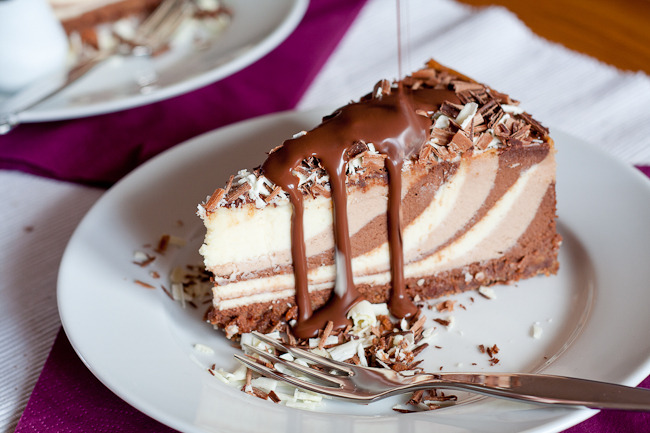
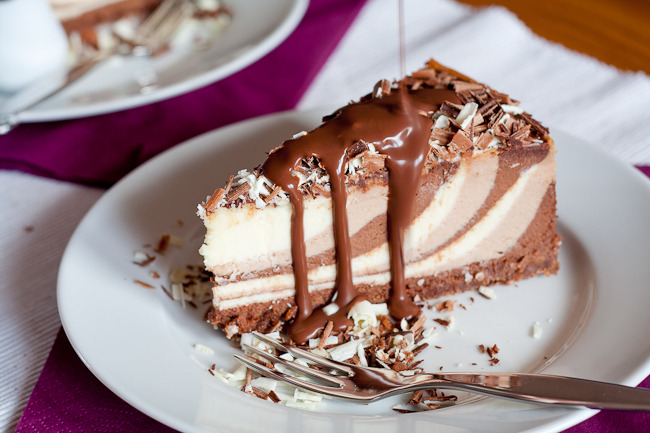
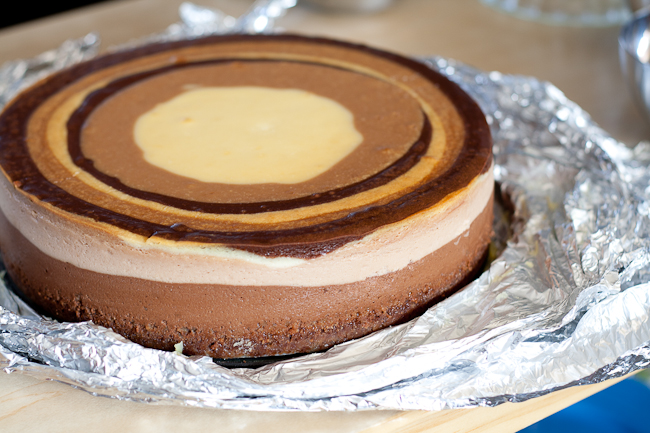
a.k.a Threesome Cheesecake smothered with Frangelico sauce or the cake that I went overkill on photo taking with ;)

It was my husband's birthday in March and I'd already planned his birthday cake in November or December the year before. Yes, I'm a little weird like that. Not that I'm always like that, but in this instance it was the case.

I've mentioned in my Mocha & Vanilla Bean Cheesecake post that I was never a fan of cheesecake. I'd tried it when I was quite young and either my young taste buds didn't like it or I was unfortunate to have tried a horrible cheesecake.
Then a friend had asked if I could do a strawberry cheesecake for a birthday and so I was thrown into trying out something new, and that's when I discovered that I do in fact like cheesecake!

My new-found cheesecake curiosity compelled me to do some more investigating and that's when I found out that you can have a bit of fun with the way your cheesecake looks on the inside, and so I made the Mocha and Vanilla Bean Cheesecake with a zebra pattern. Boy was I glad that I'd been pushed into trying this yummy cake!
My hubby loves cheesecake so it was one of the first cakes that popped into my mind to make for his birthday. Obviously I wanted to make it a flavour that he loves so I ran some flavour ideas past him (ignoring the "But my birthday is still months away!" comments along with the sighs of "Oh boy, there she goes again" ;) )
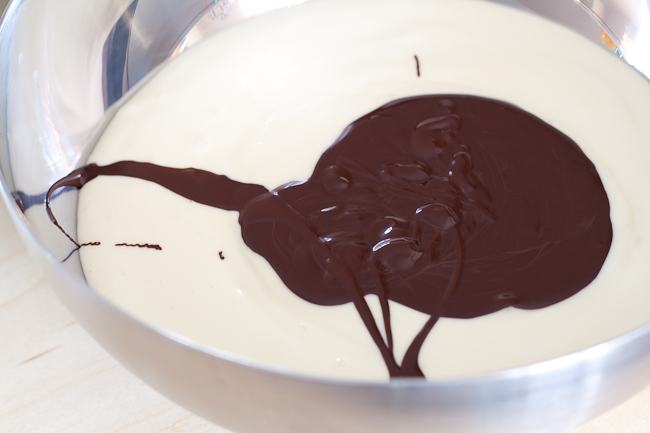
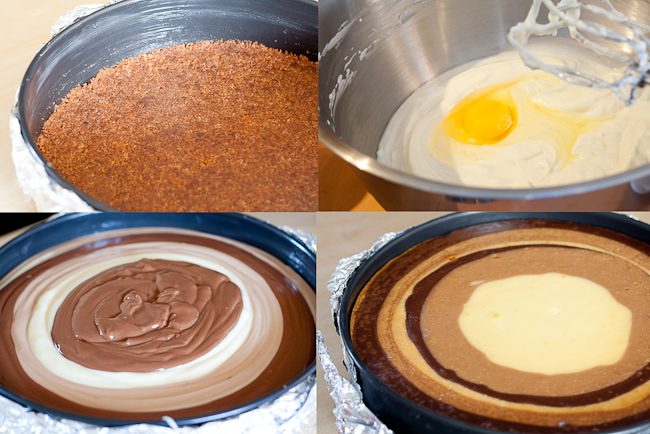
Adding dark chocolate to some of the batter
Don't you love lightbulb moments? I swear I can hear an audible "ding!" when one strikes! Anyway, my lightbulb moment hit and I was rather pleased with myself! *modesty in action*


One of Andrew's favourite chocolates is a Cadbury's Top Deck. Unfortunately we don't get them here in Ireland except at the South African store so they're quite a treat when we do get our eager paws onto a slab. If you don't know what a Top Deck chocolate is, it's a base layer of milk chocolate topped with white chocolate mounds. Yum!
Happy with the thought of a two chocolate cheesecake and wanting to make it with zebra stripes again, I went a-Googling. I wasn't sure how much chocolate to add to the mixture so I needed to do a little research. That's when I came across a triple chocolate cheesecake. Another "ding!" sounded :)

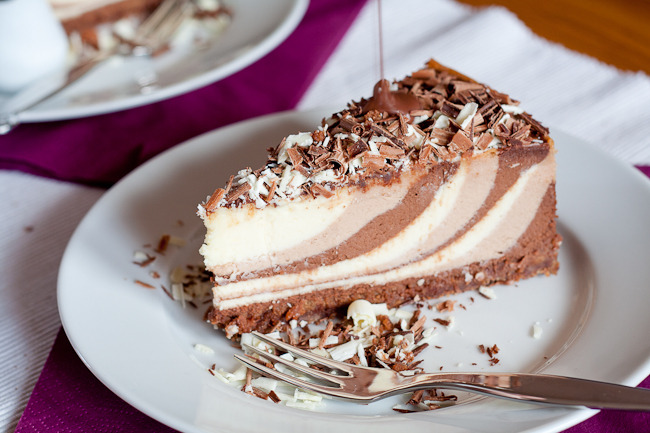
Curls of dark, milk and white chocolate to decorate, as if the chocolate inside isn't enough!
I think it was about 6 months before I left for Ireland that Beacon in South Africa came out with a new range of chocolates, one of them being a Threesome, taking the Top Deck one step further. Milk chocolate base, then a layer of white chocolate and finished off with dark chocolate mounds. I'd introduced Andrew to it when he'd come to visit me during our long distance phase and he loved it! He loves dark chocolate, where I prefer milk or white chocolate, but we both loved the Threesome.

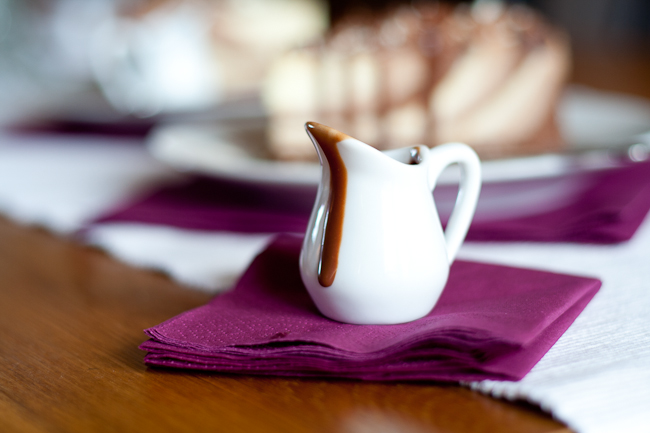
Well, I tell you, those months of anticipation were finally over and I finally got to make Andrew's birthday cheesecake, and I can tell you I would make this cake again at even the slightest hint! We had friends over for Andrew's birthday lunch, and apart from wanting to steal my cute tiny sauce jugs, they all gave this cake a 10/10. It was fantastic!

Crust Ingredients:
200g Digestive Biscuits
¼ cup Brown Sugar
115g Unsalted Butter
2 Tbsp Cocoa
Method:
- Blend the digestive biscuits to a fine crumb
- Melt the butter & combine with the sugar, biscuit crumbs and cocoa until well mixed
- Press the crumb mixture into the bottom of the prepared pan (see below)
Cheesecake Ingredients:
4x 225g (8oz) Full Fat Cream Cheese, room temperature
4 Eggs, room temperature
1¼ cups Granulated Sugar
1 cup Double Cream, room temperature
1 Tbsp Lemon Juice
1 tsp Vanilla Extract
100g 70% Dark Chocolate
100g Milk Chocolate
100g White Chocolate
½ tsp Salt
Dark, Milk & White Chocolate for Garnish
Method:
- Preheat oven to 165°C (145°C Fan Forced)
- Bring enough water to the boil to fill a larger dish for the waterbath
- Carefully butter a 9" springform pan all the way to the top
- Wrap the bottom of the pan with 2 layers of tinfoil to make sure no water seeps in. The foil should be at least 2" high up the sides of the tin.
- Line the bottom with wax paper (this will make it easier to slide the cake onto your serving dish
- Prepare the crust (see above)
- With mixer at low speed, cream the cheese until smooth
- Add the sugar and mix until combined
- With mixer still at low speed, add eggs one at a time, mixing thoroughly before adding the next. Make sure to scrape the sides of the bowl between adding each egg
- Add the double cream, vanilla extract, lemon juice & salt, mix until well combined and smooth
- Divide the mixture equally into 3 bowls
- Melt each 100g of dark, milk and white chocolate individually and allow to cool slightly
- Thoroughly mix the dark chocolate into one of the cheesecake batter mixtures
- Thoroughly mix the milk chocolate into the second cheesecake batter mixture
- Thoroughly mix the white chocolate into the last of the cheesecake batter mixtures
- Tip: You may find that the batter will thicken because the chocolate cools and starts to set. To get it back to a pourable consistency, place each heatproof bowl of cheesecake batter over a pot of simmering water and mix until it's the consistency it was before adding the melted chocolate. Don't over heat, just enough to warm it up a little to prevent cooking the egg in the mixture
- The 3 mixtures will be poured into the prepared springform pan a cup at a time to create the "zebra" design (use seperate cups for each batter)
- Pour 1 cup of the dark chocolate mixture into the centre of the pan (it will spread by itself as you add more of the other mixtures)
- Pour 1 cup of the milk chocolate mixture directly into the center of the dark chocolate mixture
- Pour 1 cup of the white chocolate mixture directly into the center of the milk chocolate mixture
- Repeat these 3 steps, alternating the colours in the same order, until all of the batter has been poured into the pan (you should get about 9 zebra stripes in total)
- Tip: You can start with any of the colours
- Carefully place the springform pan into a larger ovenproof pan or dish and place in the preheated oven
- Pour enough hot water into the larger pan to come to about 1½" up the sides of the cheesecake pan
- Bake for about 1h15 to 1hr30 until it is almost done (the cake should be firm around the outside but still have a lot of jiggle to the centre when you gently shake the pan)
- Turn the oven off & leave the cheesecake in the oven with the door shut for about an hour (the cheesecake will carry on cooking in this time and firm up until it's baked through. Also, as it gently cools down in the oven, it will help prevent the top from cracking.)
- After the hour in the cooling oven, remove the cake from the oven & carefully lift it out of the waterbath. Let it finish cooling on the countertop
- Once cooled, put it in the fridge to chill
- Allow to chill in the fridge for a few hours, preferably overnight so that the flavours develop
Garnish & Serve
- To make the chocolate curls for decorating, "peel" the chocolate with a potato pealer
- Tip: You get better curls if the chocolate is slightly soft so I peel one side for a little bit, then rotate to the side I was holding and peel where it's been warmed from my hand, then rotate etc.
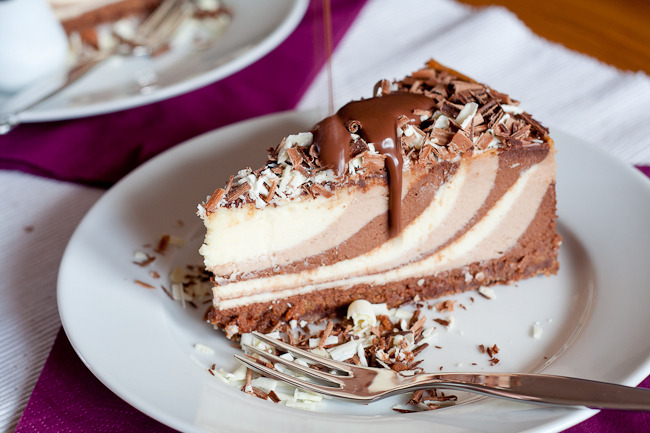
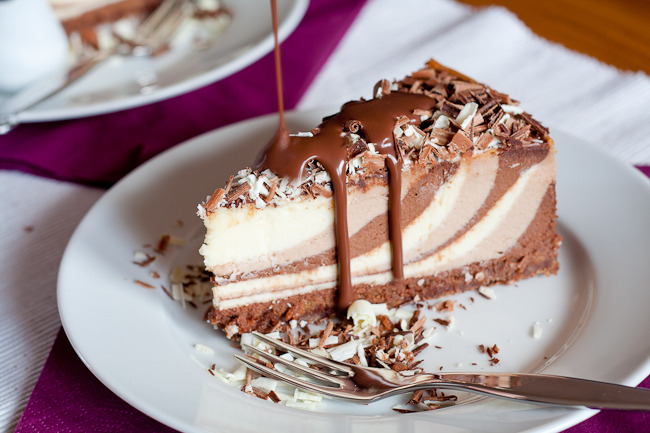
- Remove from the springform pan, garnish with chocolate curls & serve with a generous dousing of warm Frangelico sauce!
- Tip: To get clean slices, heat your knife up in a glass of boilt water, wipe dry then cut. Clean and reheat knife for each cut
Frangelico Sauce Ingredients:
200ml Double Cream
100g Bourneville (60% Dark) Chocolate
4-6 Tbsp Frangelico (or to taste)
Method:
- Finely chop or grate the chocolate and put into a heat resistant bowl
- Put the cream into a saucepan and heat until just about to boil
- Remove from heat and pour hot cream over the chocolate, using a whisk stir the cream and chocolate together making sure all the chocolate has melted and the mixture is smooth
- Stir in the Frangelico
- Leave at room temperature or refrigerate
- Stir with a fork occasionally until it reaches a thick but pourable consistency
- Tip: The longer you allow it to cool, the thicker the ganache sauce (although it won't get as thick as a ganache made with equal amounts of chocolate & cream)
- Tip: Cooling it in the fridge speeds up the process but make sure to stir the ganache so that it cools evenly. If it is left to chill for too long and is too thick to pour, place the bowl in a warm water bath and stir until you reach the desired consistency, or zap it in the microwave, 10 seconds at a time, stirring each time

Sources:
I searched through a lot of sites but this recipe was adapted from the following:
Other Tips:
Overmixing causes cracking: Unlike a sponge cake, you want as little air to incorporate into the cheesecake batter as possible, mix at a low speed or mix by hand when possible and mix just enough to combine ingredients
Dryness causes cracking: Using a waterbath to bake your cheesecake in will also help prevent it from cracking (If you don't have a large enough pan which will hold a lot of water, (like me ;) ) what I did worked fine, I placed my cheesecake pan in a larger pie dish and filled it with water but I had to top it up with hot water halfway through baking, also to be safe, I put an extra dish on the bottom of my oven also filled with hot water)
Sticking to the pan can cause cracking: After baking & before letting the cheesecake rest in the cooling oven, carefully run a knife around the edges to unstick it from the pan to prevent the top from cracking as it cools and shrinks slightly
I've found there are 2 temperatures that cheesecake is baked at: 180°C (160°C Fan Forced) for 45min - 1 hour & then 165°C (145°C Fan Forced) for 1hr15 - 1hr30. I used the lower temperature & longer cooking time which worked well but, judging on the amount of recipes that use the higher temperature, baking for shorter time at a higher temperature is also fine, just don't overbake, remember your cake should still have a good jiggle to the centre after baking, and once resting in the cooling oven, will bake through